

SPLIT AC INSTALATION
Split AC Installation
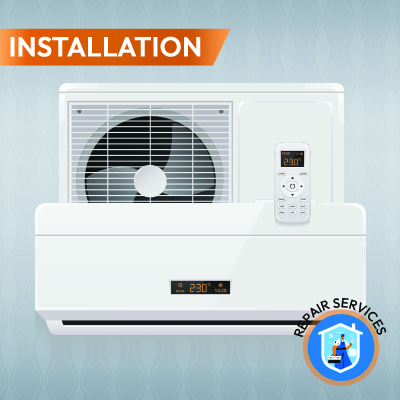
A split air conditioner (split AC) consists of two separate units: an indoor unit that cools the room and an outdoor unit that expels heat from the room. Proper installation is essential, as incorrect placement, piping, electrical connections, or drainage can impair cooling performance and lead to future issues.
Split AC Installation Process
1. Select the Correct Location
The indoor unit should be mounted on a sturdy, level wall, ensuring there is sufficient space around it for proper airflow and maintenance. The outdoor unit should be placed on a strong bracket or a suitable platform where there is good airflow and ample space for heat dissipation and servicing.
2. Mount the Indoor Unit
The technician securely mounts the indoor unit's mounting plate to the wall. The unit must be level so that condensation water can flow towards the drain pipe.
3. Make the Wall Opening
A hole is drilled in the wall at the correct location for the copper pipe, drain pipe, and electrical connections. The hole should be positioned in such a way that it avoids unnecessary bends in the piping.
4. Connect Copper Pipes and Drainage
Insulated copper pipes connect the indoor and outdoor units. A drain pipe is connected to the indoor unit to safely discharge the water generated during cooling.
Proper insulation and pipe connections are crucial to minimize energy loss and prevent condensation or water leakage.
5. Install the Outdoor Unit
The outdoor unit is securely mounted on a suitable bracket or base. It must be stable and installed in a location where the condenser fan can easily expel hot air.
6. Make Electrical Connections
The technician connects the AC unit in accordance with the manufacturer's electrical requirements (such as the correct power supply, protection, grounding, and cable size). Electrical work should only be performed by a qualified professional.
7. Check the Refrigerant Circuit
After connecting the refrigerant piping, the system should be checked for leaks. For systems that require it, the technician uses a vacuum pump to remove air and moisture from the piping before releasing refrigerant into the circuit.
8. Test the AC
Finally, the technician turns on the AC and checks the following:
- Cooling performance
- Airflow
- Drainage
- Unusual noise or vibration
- Refrigerant pipe connections
- Electrical operation
- Outdoor unit operation
Service Time - 150 MINUTE
900.00
Available Offers
- Flash Sale – (25%) Off on specific